BATTLE OF YAMSAI
|
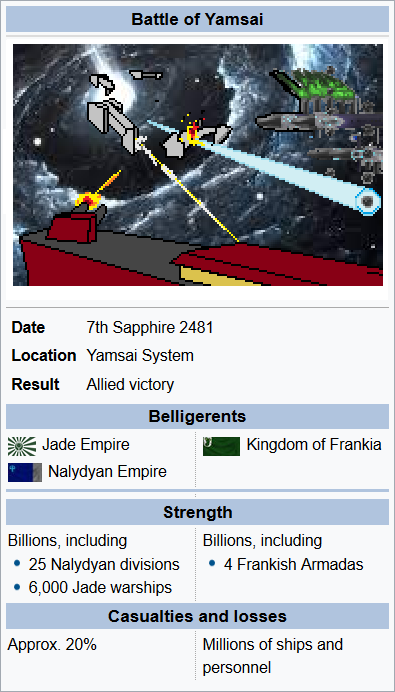
The Battle of Yamsai was a major engagement between Pordish, Frankish and Ingenious warfleets as part of the wider Pord-Frankish war. The battle was notable for its vast scale and was the climactic battle of the war.
ORDER OF BATTLE
The Frankish launched their assault on the Pordish system of Yamsai with four full armadas, each numbering millions of hulls. The Pordish forces mustered close to two million hulls, including 64,000 capital and cruiser grade ships and three Citadel space stations. Both nations fielded several billion personnel to the battle.
The Imperial force which arrived mid-battle to support the Pordish fleet was composed of the 1st, 4th and 101st fleets, mustering roughly 600 capital-class hulls and 13.5 million personnel. This comparatively small armada was used as a force multiplier by the allied commanders. COURSE OF BATTLE
Upon the arrival of the Imperial Jade Navy, the battle was well underway. The VRZ had partially surrounded the bulk of the Frankish fleets and was pressing them hard, but the sheer numerical superiority of the Franks was threatening to overwhelm and roll up the Pordish lines. The entire battle was in lateral motion as portions of the Pordish fleet staged a strategic fighting retreat, in order to lure the Franks onward and away from reinforcements which had arrived in-system and were struggling to close the distance to the engagement.
The Imperial Jade Navy kept its motives hidden from the Frankish, whose high command had been led to believe that the Laptev Axis supported Frankish foreign policy. The three fleets under Flag Admiral George Chase advanced through the Pordish lines of the Jloklezhoi division, with multiple Imperial destroyers simulating hull breaches and activating their jamming systems to create the impression they had been destroyed, and thus avoid their ploy being detected by the Frankish vanguard, which was composed of elements of the 12th Armada including the 80th, 112th and 131st Corps. Upon reaching the Frankish lines, the leading elements of the Imperial force deactivated their stealth measures and opened fire at point-blank range. The initial moments of the |
|
engagement saw heavy losses inflicted on the Frankish fleet, staggering their forward momentum and enabling the vast Pordish lines to rally and counter-attack.
Formed into three spearheads, the bulk of the Imperial fleet advanced into the Frankish formations, where the DKS League's Bane sank the first Imperial capital ship of the engagement when it hulled the IJN Pearl Bones, a Tanto destroyer of the 4th fleet. Three Katana class destroyers of the 1st fleet, IJN Fury of Saigo, IJN Spectre Fog and IJN Measure of Peace, moved to attack the stricken Frankish flagship as the assault continued. Elsewhere, the IJN Xochicalco was boarded by Chimeran shock troops, leading to hand-to-hand fighting as the 121st Regiment defended the vessel. Simultaneously, support elements of the 1st fleet moved to assist Batyl's division and the VRZ Billowing Stratocumulus.
As the IJN Red Warrior, a Kaminari-class cruiser, moved to support the 1st fleet's advance, the IJN Teotihuacan was caught in a crossfire and suffered the loss of its bridge crew, including Admiral Ayuko Shokuminchi, 4th fleet commanding. By this point, however, the Pordish attack had begun to overwhelm the Frankish fleets and their high command ordered a general ceasefire. Many Frankish vessels escaped, many surrendered, whilst some scuttled themselves or fought to the death in defiance of their orders, refusing to dishonour themselves.
AFTERMATH
The Imperial intervention had been primarily political in motive, seeking to clearly demarcate their foreign policy, reject the anti-Barlatist agenda, and to affirm their commitment to good relations with the Nalydyan Empire. Although a strategic success, the battle inflicted heavy casualties on all parties.
The battle itself left both sides reeling. The Frankish losses were high, with unconfirmed reports suggesting anything as high as 60%, meaning thousands of ships and potentially billions of lives lost. The Pords lost approximately a fifth of their fighting craft and personnel.
The Imperial fleet, arriving late and avoiding much of the heavier fighting, still suffered significant losses. Approximately two million personnel were killed in action, with a further 1.3 million wounded. Many of the warships of the force, including many from the 4th fleet, were either sunk outright or damaged beyond repair, whilst more still were forced into extensive drydock repairs. A quarter of the Imperial strike force was rendered unfit to fight in less than two hours of combat.
